As of 2026, The facial and skincare industry is rapidly growing yearly as more consumers invest time and money into their skin and outward appearance. Clients are looking to maintain their skin’s health and improve the impacts of ageing. Facials are one of the most favoured treatments for immediate results and glowing skin.
In this post, we want to share a step-by-step guide to performing a professional facial treatment that is taught in our renowned facial skincare and beauty therapy courses. We hope you can perfect your facial treatment skills with this guide.
Let’s get started.
How to do a Professional Facial
Our 10 steps guide will cover cleansing, extraction, exfoliation, and hydration. We highly recommend you practise this routine at home, with your friends and family, until you can complete it perfectly before moving on to clients.
After all, as a Beauty Therapist, your goal is to provide the best service and experience for the client.
Step 1: Client Consultation
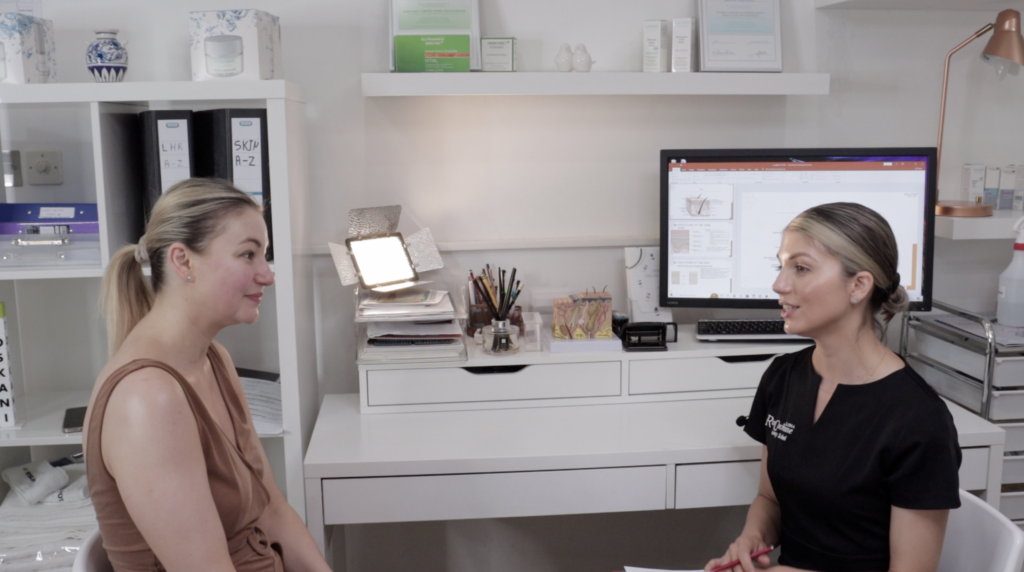
The first step in a professional facial treatment would be client consultation. The client consultation is the like a pre-screening for the patient to ensure they are suited to the treatment.
During a client consultation, your client will fill out some forms concerning:
- Their personal information, including name and age
- Lifestyle choices such as diet, alcohol and smoking habits, etc
- Medical conditions such as eczema, psoriasis, and diabetes
Let the client know to be as honest as possible to ensure they receive the most suitable treatment plan. Skin conditions such as eczema might mean they are not a suitable candidate for a facial treatment.
Use your client consultation time to understand what your client wants to achieve from the treatment.
The most crucial part of a client consultation is that your client should sign the paperwork stating that they understood the information you delivered.
Step 2: Pre-Cleanse
A pre-cleanse is very important as it softens and removes the makeup, oils, and sebum on the client’s face. Think of the pre-cleanse like the double cleansing method recommended at home.
Pre-cleansing products break down the emollients in the client’s makeup easier than a cleanser would. If the client’s makeup is not thoroughly removed from the skin, it will be harder for products used later in the facial treatment to be absorbed.
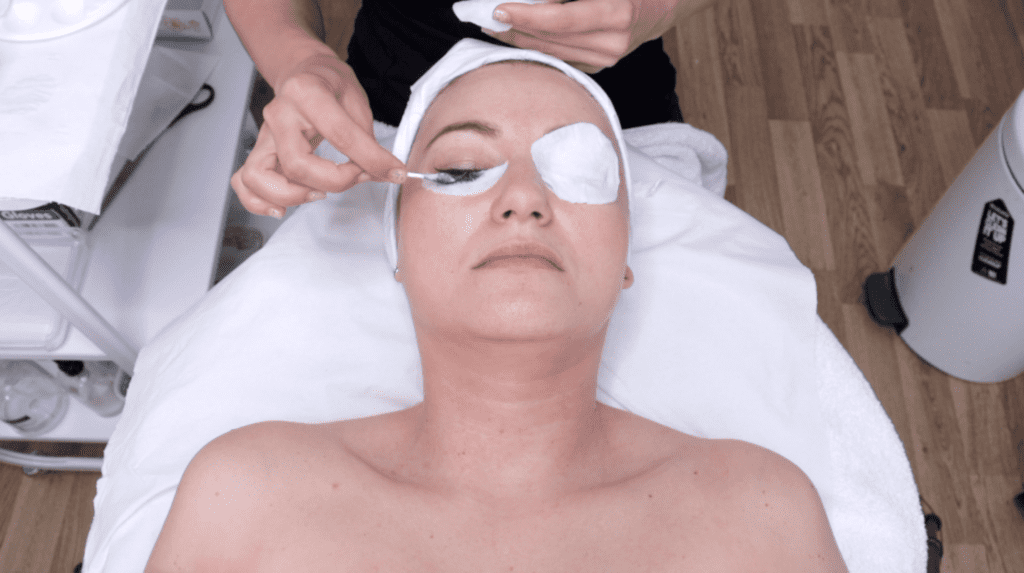
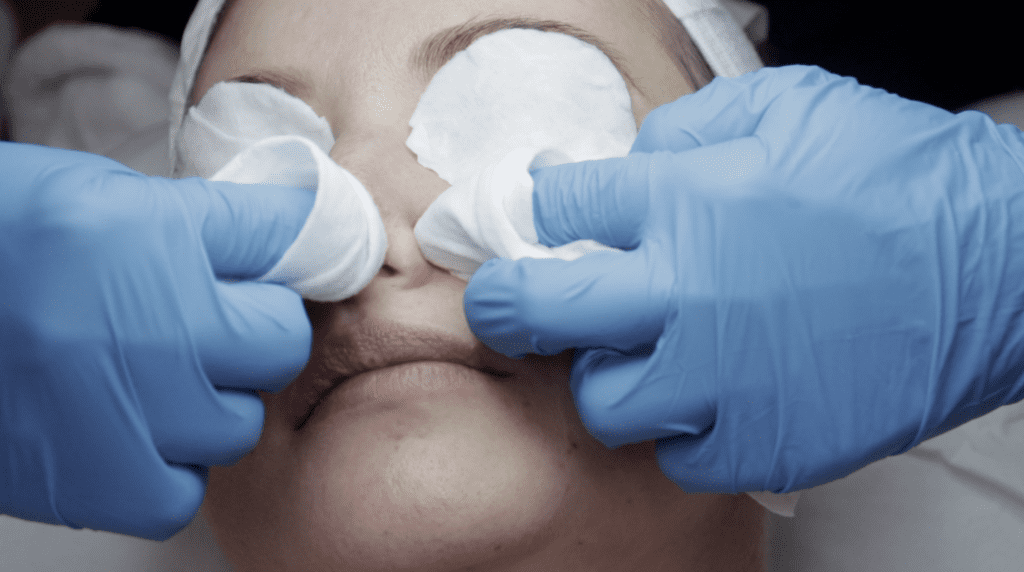
Saturate a cotton pad in a makeup remover before placing them gently on the client’s eyes. Let that sit for a few seconds for the cleanser to break down any products or oils on the eyes and lashes. Then press gently on the cotton pads whilst slowly using circular motions to lift the eye makeup. Repeat this on the lips but use a swiping movement to remove any excess products on the client’s lips.
Finally, a superficial cleanse is applied all over the client’s face. Pour the product onto a cotton pad and gently pass it all over the face, breaking down any excess makeup or oils. Remember to work in light movements to avoid tugging down on the skin.
Complete the pre-cleanse regardless of the client’s skin type (dry, oily or combination).
Step 3: Cleanse and Tone
Cleansing removes all the dirt and impurities from the client’s face. When cleansing the face, using the right formula for your client will allow you to clean their skin without taking away its healthy and essential oils.
Choose a cleanser fit for your client’s skin type (dry, oily, or combination skin). Mix the product in wet hands, starting from the client’s chest, and work your way upwards on the client’s face. Use smooth sweeping motions to apply the cleansing product evenly.
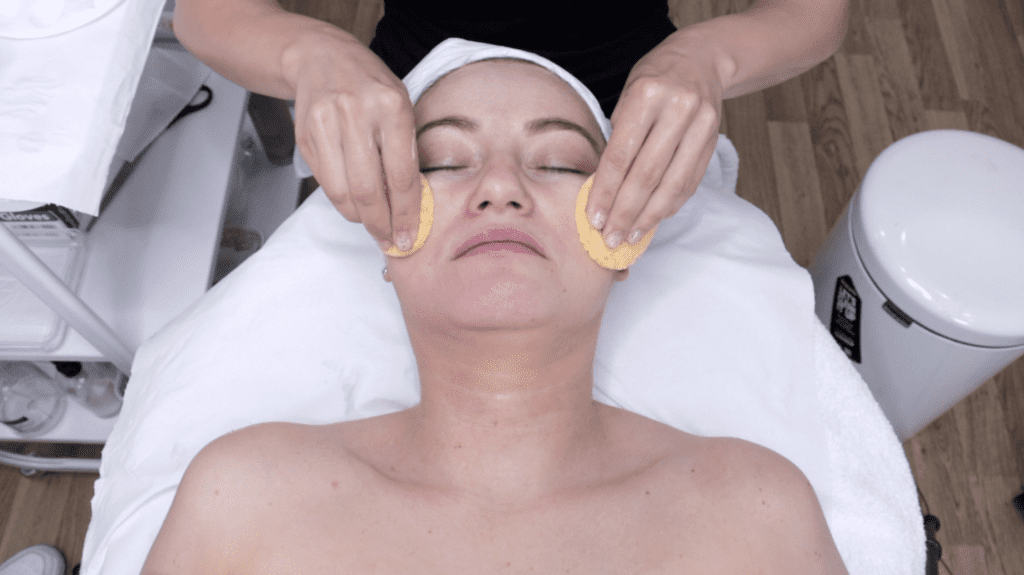
Once the cleanser is applied over the face, take a little water in your hands, and massage your cleansing product in. Remove the cleanser with a wet, disposable sponge. Begin, again, at the chest and work upwards to the neck and face while avoiding dragging or pulling the skin.
You can now use your toner, which helps to calm the skin while maintaining its natural pH balance. Apply toner to the skin using cotton pads. Begin at the chest and work upwards to the neck and face using sweeping movements. Remove excess moisture with a tissue.
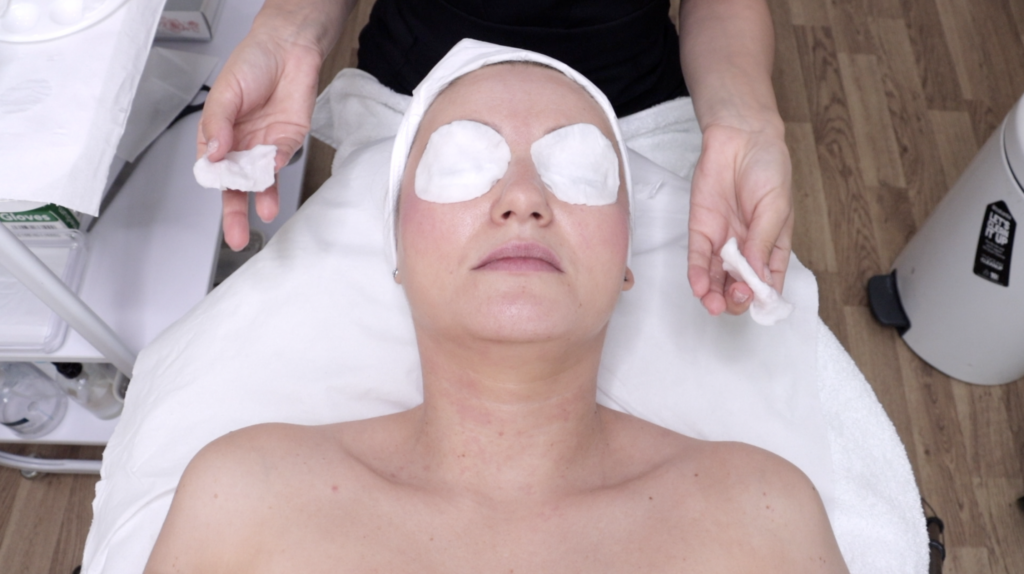
Step 4: Skin Analysis
Skin Analysis is an essential part of a professional facial treatment. Through skin analysis, you can determine and understand the client’s skin condition (blackheads, acne, ageing, whiteheads, dehydration, sun damage, dehydration) and choose the right products.
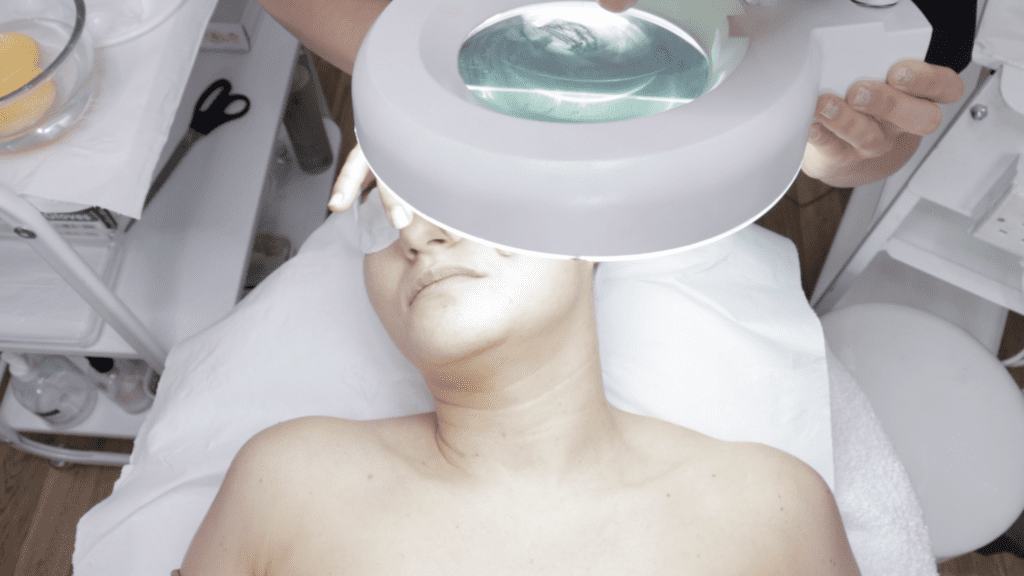
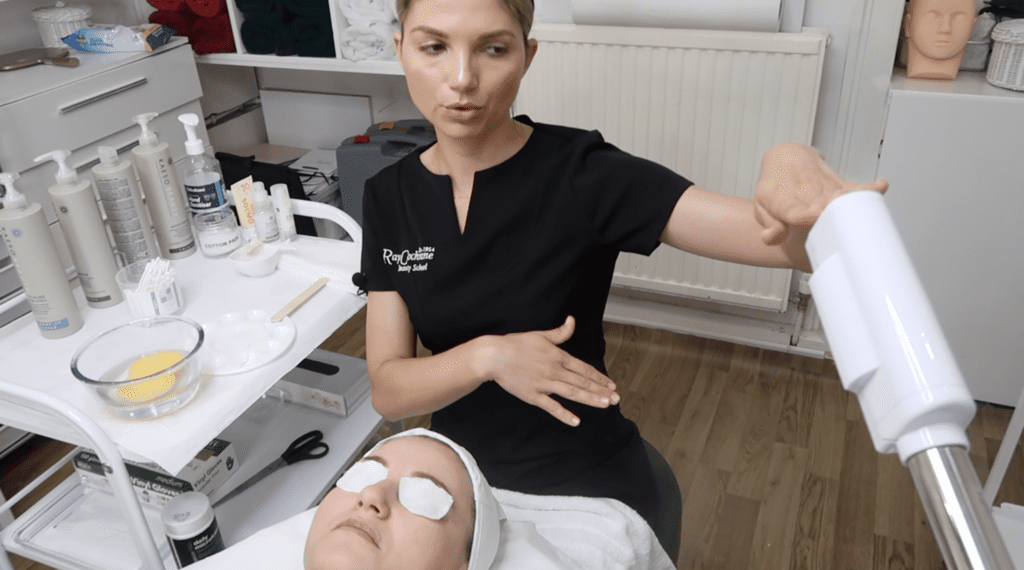
For the skin analysis, use a magnifying lamp over the face, no closer than 5cm. Since the lamp is strenuous on the client’s eyes, cover their eyes with a damp cotton pad.
Begin on one side and work around the face, using the look-feel-touch method. You have to make notes on the skin analysis form. After you finish, remove the cotton pads from the client’s face.
Step 5: Exfoliate
Exfoliating is the process of removing dead skin cells from the skin’s surface. There are two types of exfoliants available to a professional Aesthetician or Beauty Therapist, mechanical or chemical exfoliants
Mechanical exfoliants have a gritty texture, whereas chemical exfoliant uses enzymes and acids.
Exfoliating is beneficial as it will remove dead cells and other debris from the outer layer of your client’s skin. Exfoliating improves the skin renewal process and helps reveal the newer skin underneath. It also helps stimulate lymphatic drainage and stimulation of oxygen-rich blood.
This step of a facial treatment starts with turning on the steamer for it to heat up while positioning it away from the client. If your client has sensitive skin, do not use steam application.
Before applying the product, consider these pointers:
- You can dispense the product into the small bowl
- Warm up the products in your hands before applying them to the skin
- Read and follow the manufacturer’s instruction
- Avoid eyelids and mouth
When applying the exfoliant, begin at the chest and work upwards from the neck to the face. Massage with circular movements until slight erythema occurs.
To steam:
- Place cotton pads on the eyes
- Position the steamer 25-30 cm away from the face, behind the head or to the side
- Steam for 5-10 minutes
- Remove the steamer away from the client before turning it off
After the above steps, remove the exfoliant by releasing steam to avoid discomfort or burning. Press gently down on the face and forehead, then work downwards from the neck. Use sponges saturated with warm water to wipe off any excess product.
Step 6: Extraction
During the extraction process, you’ll remove acne vulgaris (blackheads and whiteheads) from the client’s face. Areas of active acne should be left alone as they can lead to scarring.
Start by putting your gloves on and placing cotton pads on their eyes. Position the magnifying lamp over the face, no closer than 5cm. Moisten the pads you’ll be using with the astringent and place them around your index fingers.
Then, place your fingers around the comedone arid and press down. Lift the skin under the comedone and gently compress it, then move it back and forth slightly. Make sure to wipe it with astringent afterwards.
Remember:
- Be gentle
- Wipe sebum onto the gauze pad
- Dispose of the gauze pad and blot with astringent
- Repeat the extraction process again on other required areas
Once you’ve extracted all comedones, apply the toner to the affected areas. This step in a facial treatment helps to tighten the pores temporarily, which will help to prevent further clogging. Remove excess moisture by patting the client’s face with a tissue.
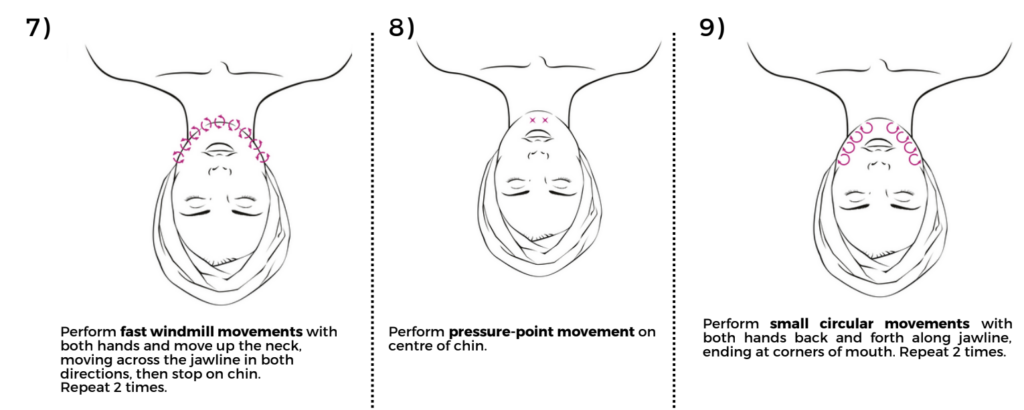
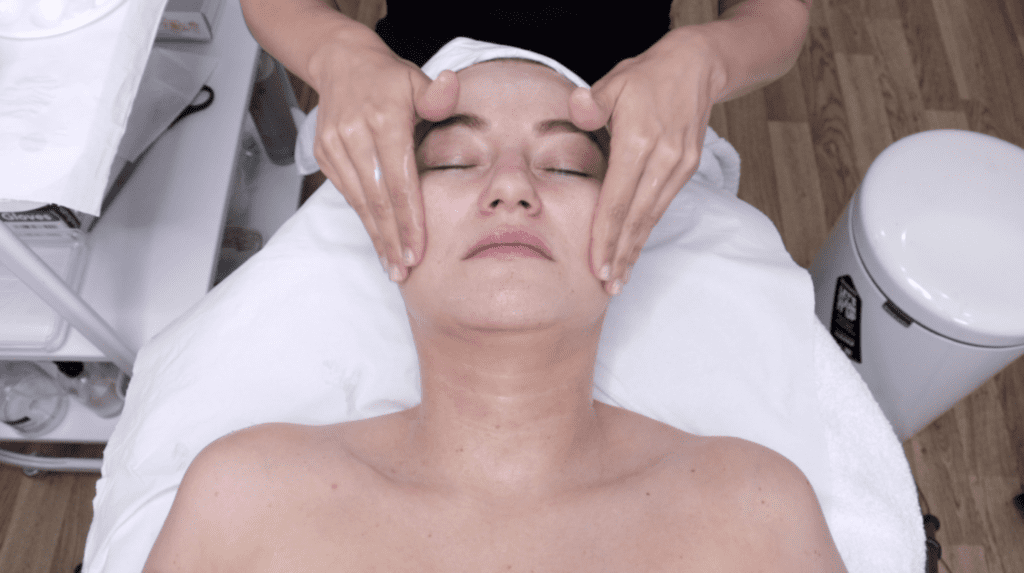
Step 7: Massage
A massage can be really relaxing for the client, especially after the extraction process. You’ll find that it’s your client’s favourite part of the facial treatment.
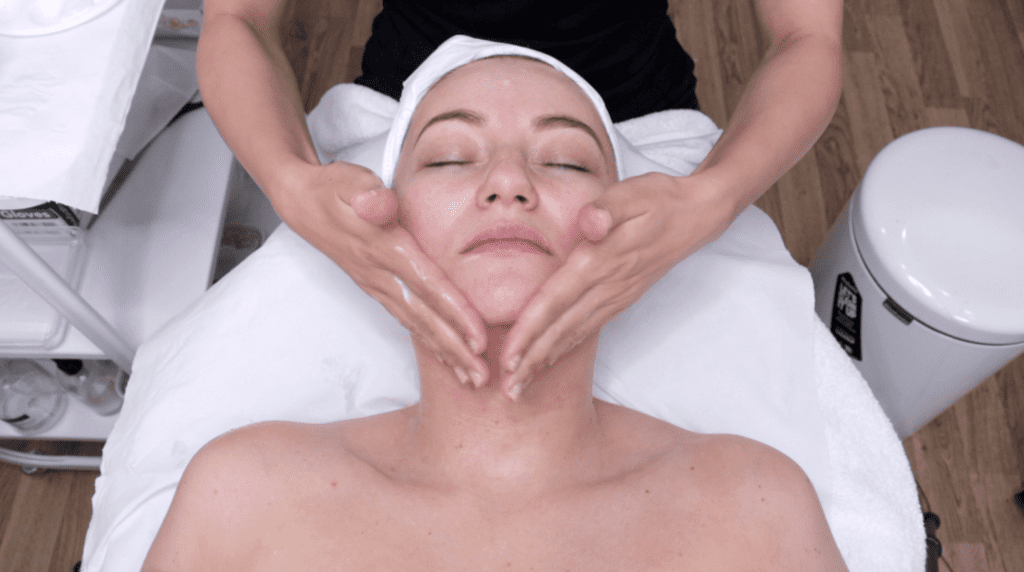
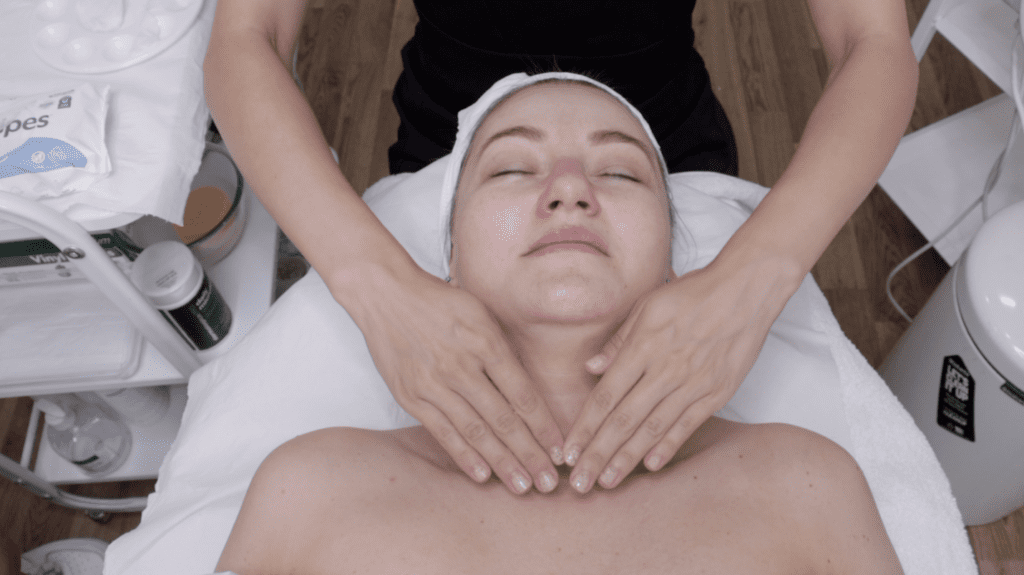
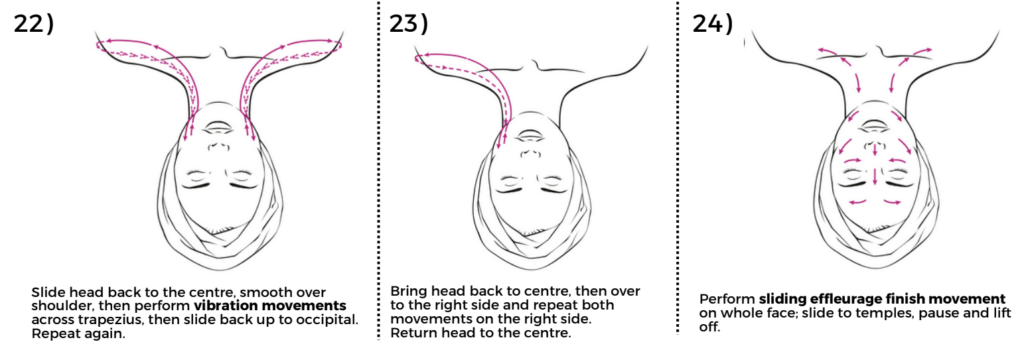
For the massage, choose products that are suitable for your client’s skin type. Apply the product to both hands and use gliding effleurage movements with a slow rhythm and light pressure
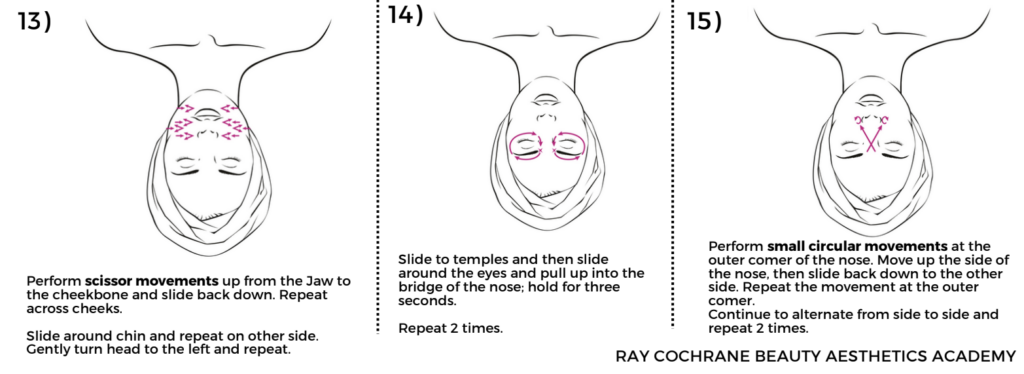
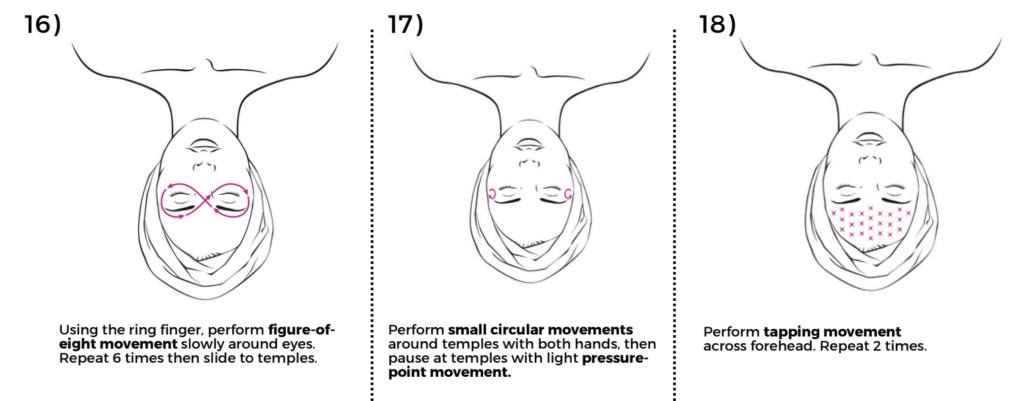
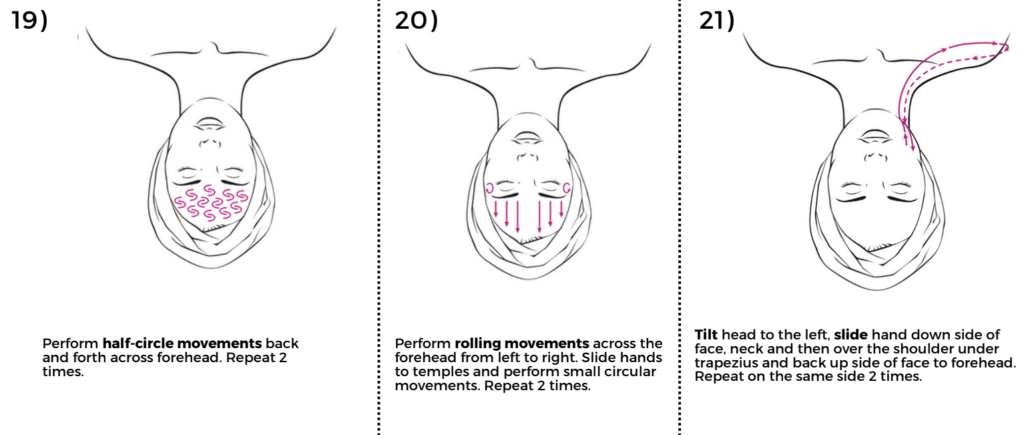
Then massage the face, neck, upper chest and shoulders using effleurage, petrissage, tapotement (percussion), friction and vibration movements
You can refer to the Massage Movements Chart below:


Step 8: Mask
You’re nearly at the end of your facial routine, and a mask is a great way to finish off and leave the skin refreshed.
Opt for a thermal heating mask to ensure the best penetration of the active ingredients to the skin. It will also relax the skin and reduce the redness caused by extraction.
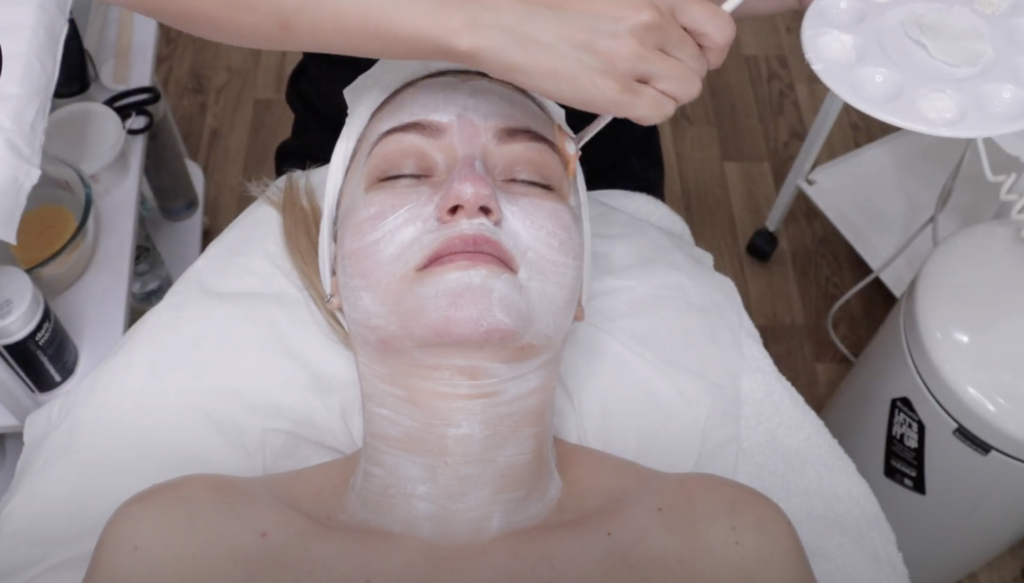
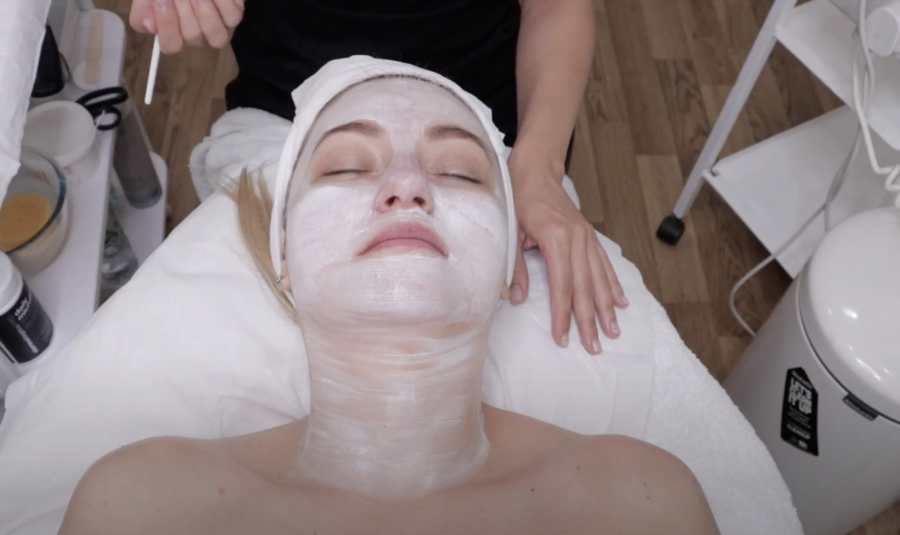
Choose a mask suitable for the client’s skin type. Begin applying to the T-zone with long, sweeping strokes using a fan brush. After that, apply to the collarbone area and move up the neck, then the jawline, chin and cheek area.
After the mask is applied, place eye pads over the client’s eyes and allow the mask to set for approximately 10 minutes. To really elevate your service, while the face mask is setting, you can perform a hand massage on the client.
To remove the mask, discard eye pads, use a wet sponge and wipe gently across the chest, face and forehead.
Step 9: Protect
After facial treatments, especially extraction, your client’s skin will be sensitive and very exposed. In this step, you will protect your client’s skin barrier by applying toners, serums, face oils etc. It will also help to tackle the skin issues your client had earlier communicated during the client consultation.
First, apply eye cream using tapping movements around the eyes. Start at the inner corner and move outwards. After, apply serum, moisturizer and sun protection over the chest area, neck and face. We recommend using SPF 30 or higher.
Step 10: Completion
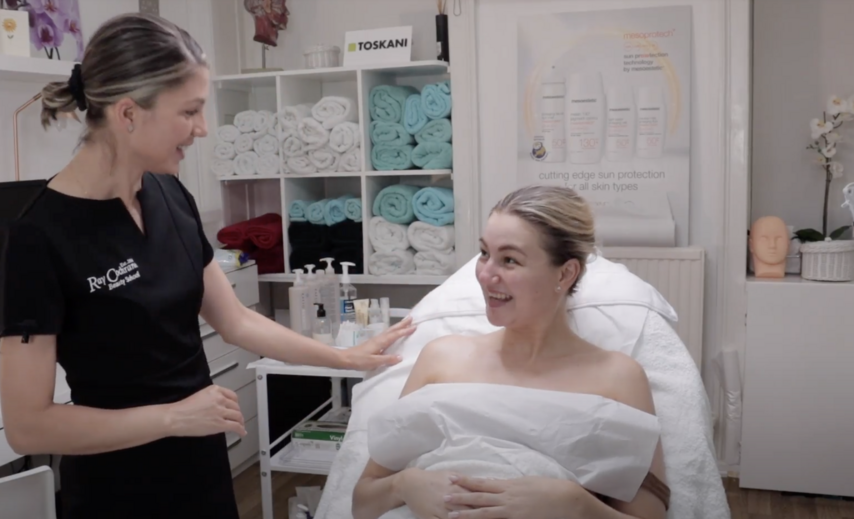
You can now remove the client’s towel and headband and assist them in sitting up safely. It is important to communicate with the client, ask about their experience and give aftercare advice.
After the client leaves, it is essential to diligently follow proper infection-control procedures to ensure a clean and hygienic environment for the next session. Implement a thorough disinfection process for the workstation, paying close attention to high-touch surfaces and equipment. Replace and sanitize couch covers and linens to maintain a fresh and sanitary setting for the upcoming client.
Our education director, Ms. Eleonora Androva has filmed this in-depth tutorial on a client, demonstrating each step of the facial treatment. This facial routine and more, are taught in our outstanding Level 2 Facial and Skincare course. The VTCT-accredited facial course is a gateway into the world of aesthetics. Who better to learn from than the globally recognised leaders of Beauty Aesthetics training, Ray Cochrane Academy?
Get Trained with Expert Tutors at Ray Cochrane Beauty Aesthetic Academy!
Our renowned beauty aesthetic school is committed to providing hands-on training led by expert tutors who are dedicated to shaping the next generation of beauty and aesthetic professionals.
If you would like to receive hands-on training with our expert tutor and study at Ray Cochrane Beauty School, please contact us via:
– Book a course consultation with our course query consultation HERE
– Call us on 02074866291
– Email our admission team at admission@raycochrane.co.uk
– Find more information about our professional facial treatment training, VTCT Level 2 Facial training course:
We look forward to hearing from you and helping you start your facial career in 2025!